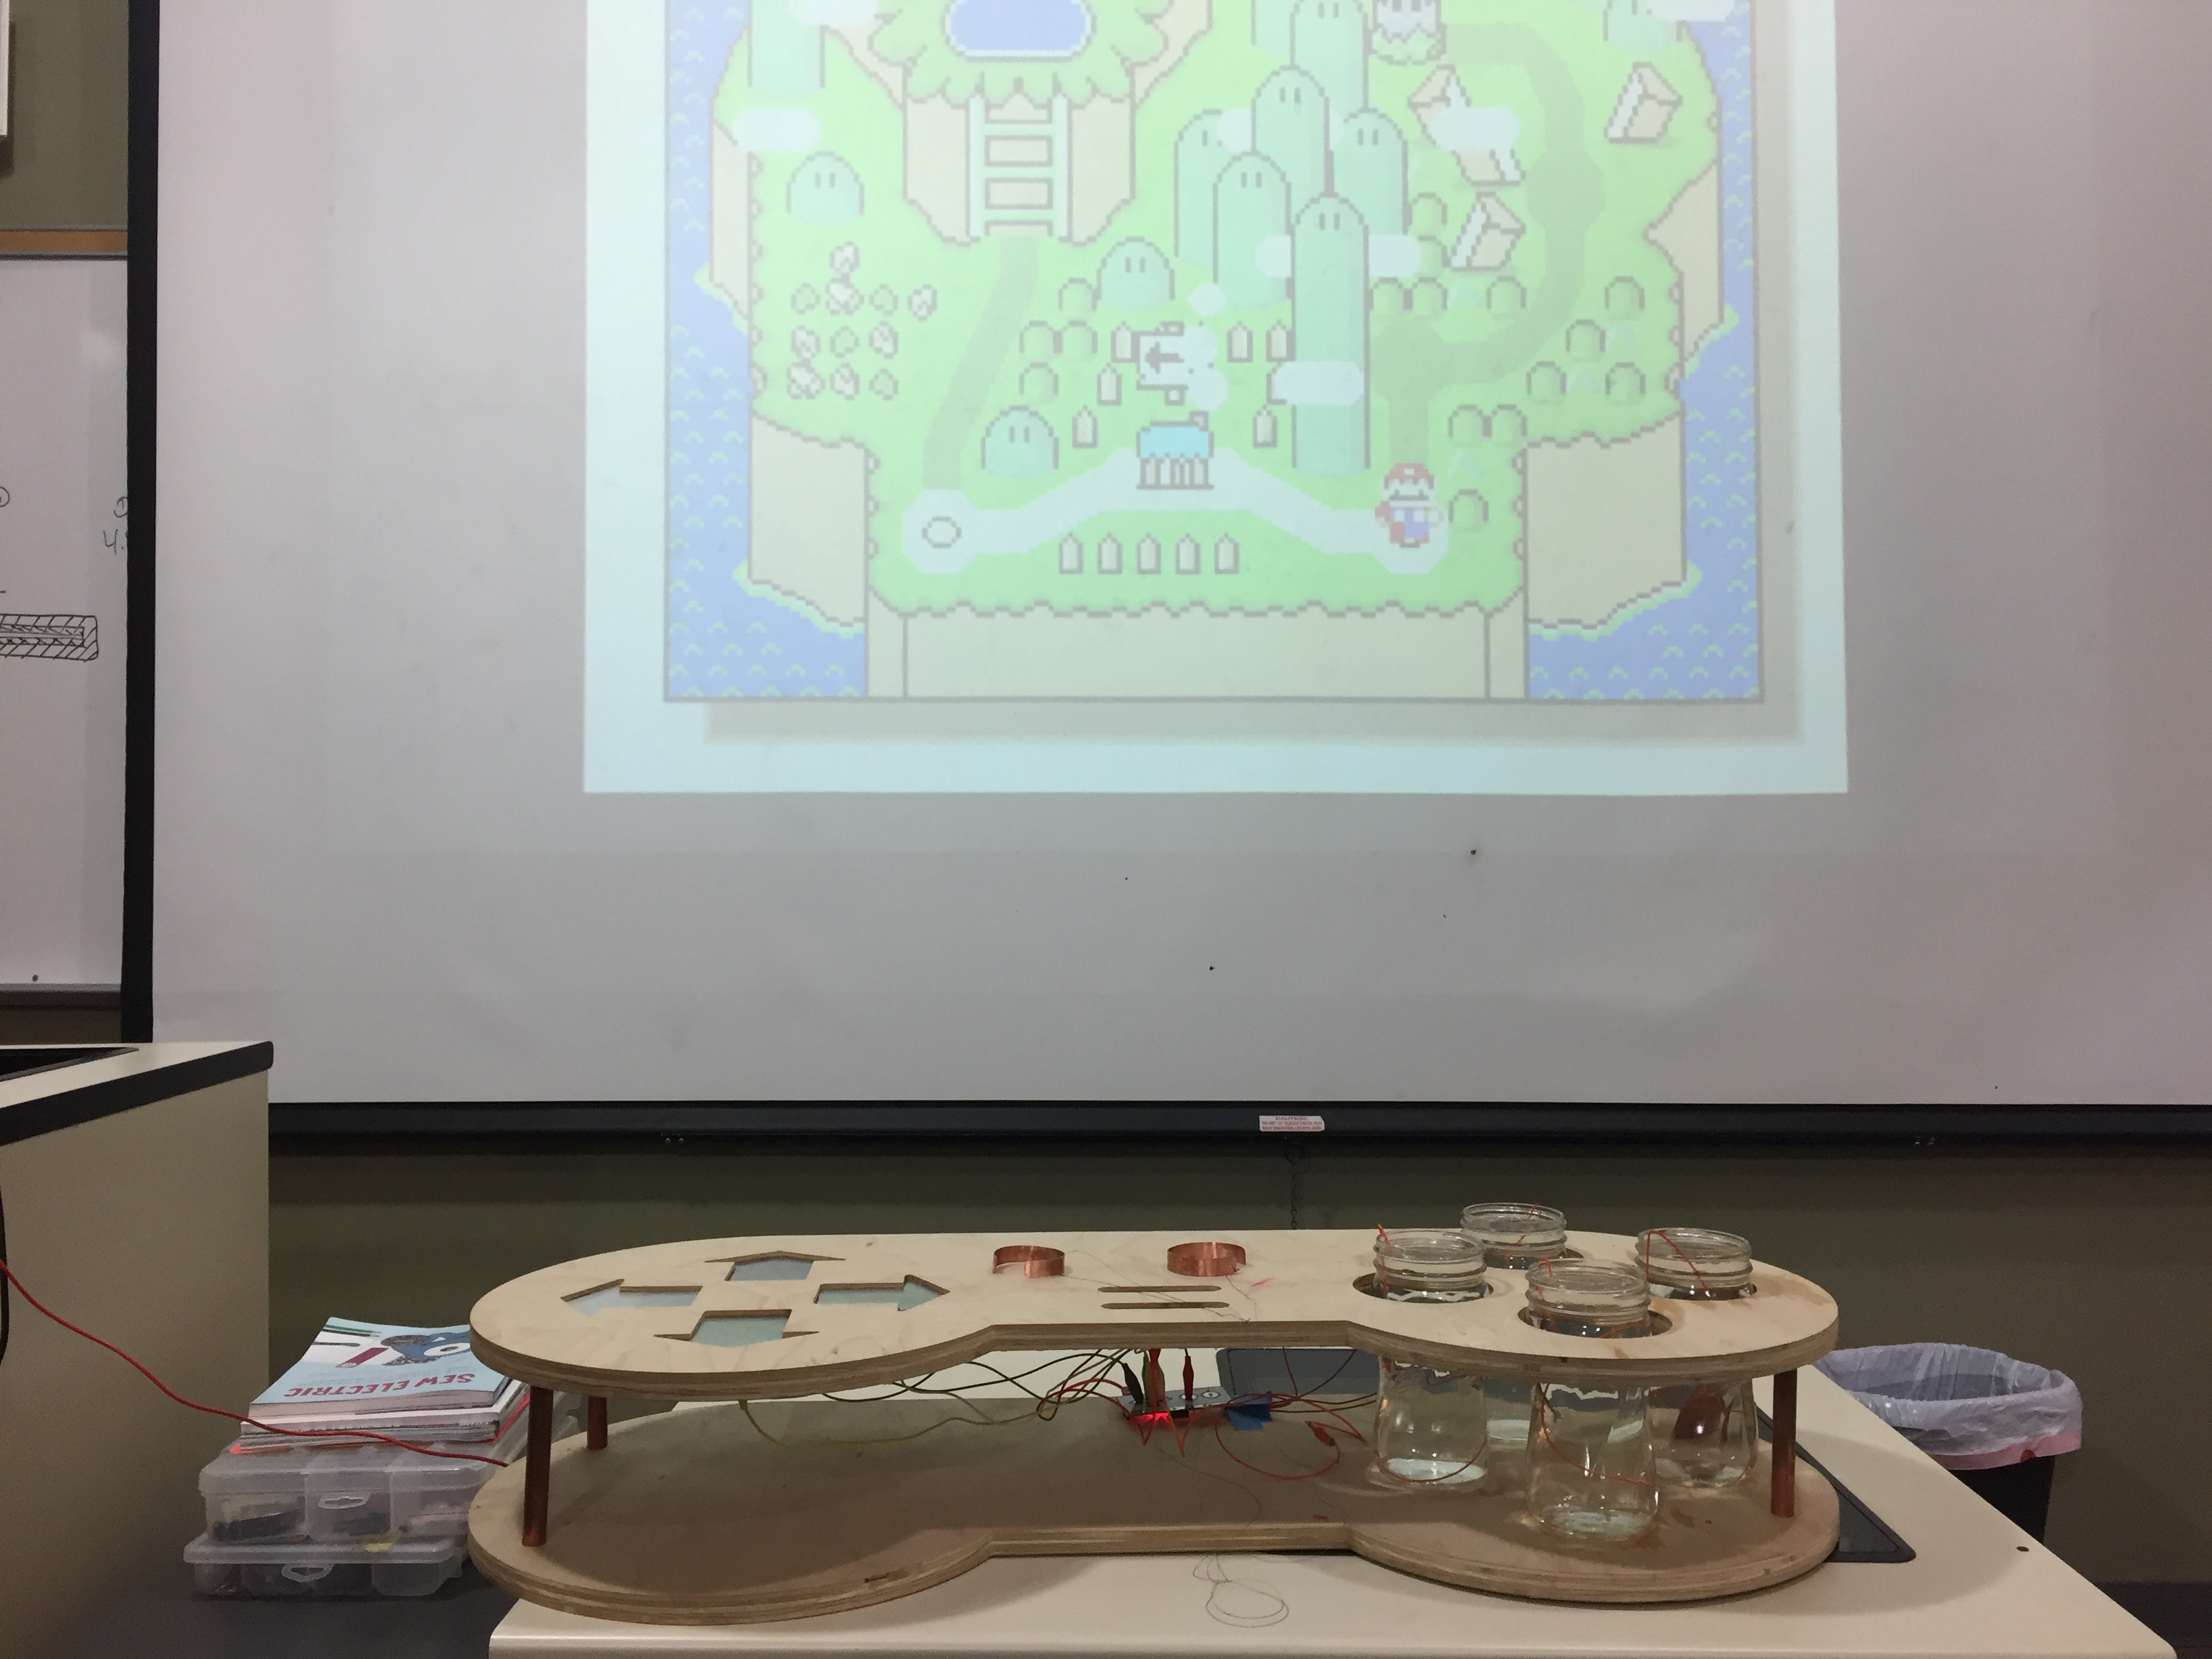
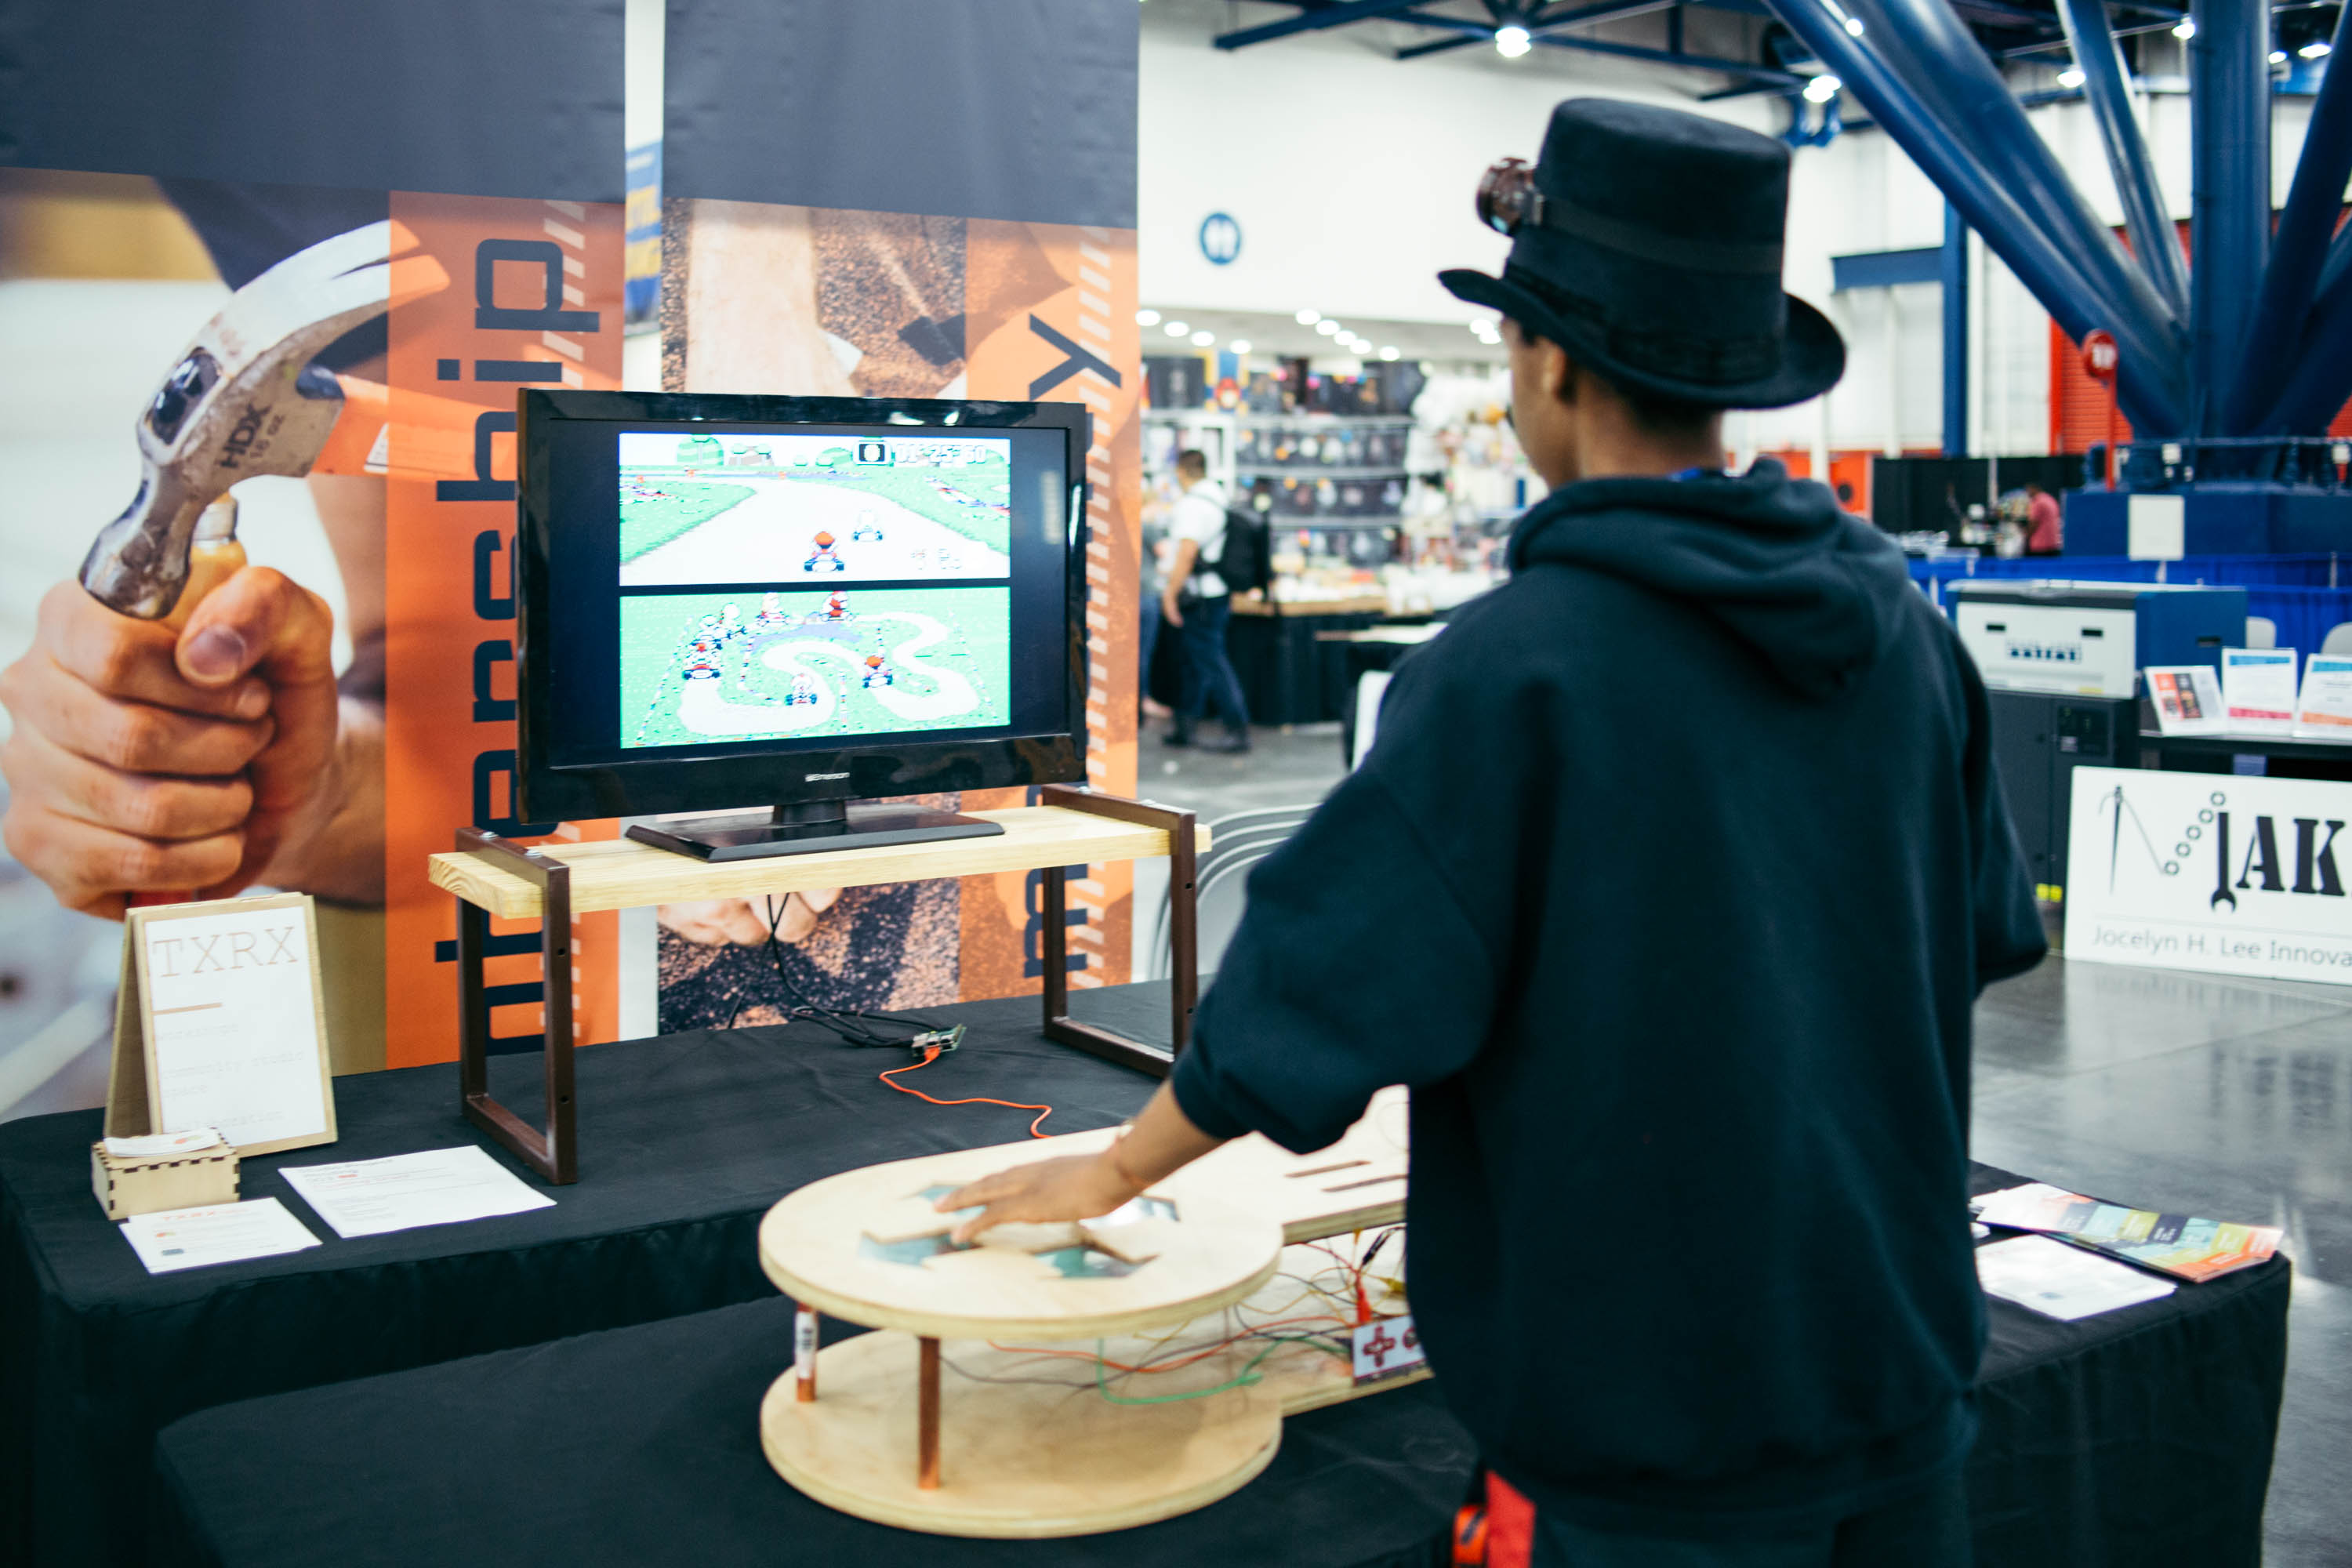
If you were at Comic Palooza over the weekend or have attended a recent Raspberry Pi Meetup, you probably played Super Mario World and Mario Kart with a giant game controller. And instead of actuating plastic buttons you simply dipped a finger in a jar of water or simply touched stainless steel arrows.
How It Works
The Raspberry Pi, a thirty dollar computer is running an SNES emulator with Retropie. A MakeyMakey circuit board is then used to convert resistive touch signals to button presses, allowing us to play Mario with non-traditional game controller materials such as water.
Sounds complicated? It's simpler than you think! In fact, the MakeyMakey is a children's invention toy (TxRx offers a Young Makers coding workshop based on the MakeyMakey). It works by converting a completion of a circuit to a keyboard stroke. The board is simply detecting if two conductive materials have made contact, and if it has turns that signal into a keyboard input for a computer. Anything just slightly conductive will work, other things that you can turn into a button include:
- Carrots
- Humans
- Doggos and Puppers
- Flowers
- Jello
- Play Doh
- Pineapples
- Donuts
- Aluminum Foil
The MakeyMakey works on any desktop or laptop computer, but why use those when you have a much cheaper and portable option - Raspberry Pi.
A Raspberry Pi is a full-fledged computer - I tell kids all the time that the Pi is faster and better than the laptop I used in high school (cue "when I was your age jokes"). And since it’s so affordable at $30, there is a huge maker and eduction community around it. Every distribution of the free linux-based operating system - Raspbian comes with Minecraft and Mathematica. Retropie is simply a specialized flavor of the operating system that allows us to turn the Pi into an emulator for a variety of retro gaming systems:
- SNES (the one we used!)
- Atari 2600
- Commodore 64
- GameBoy
- MAME
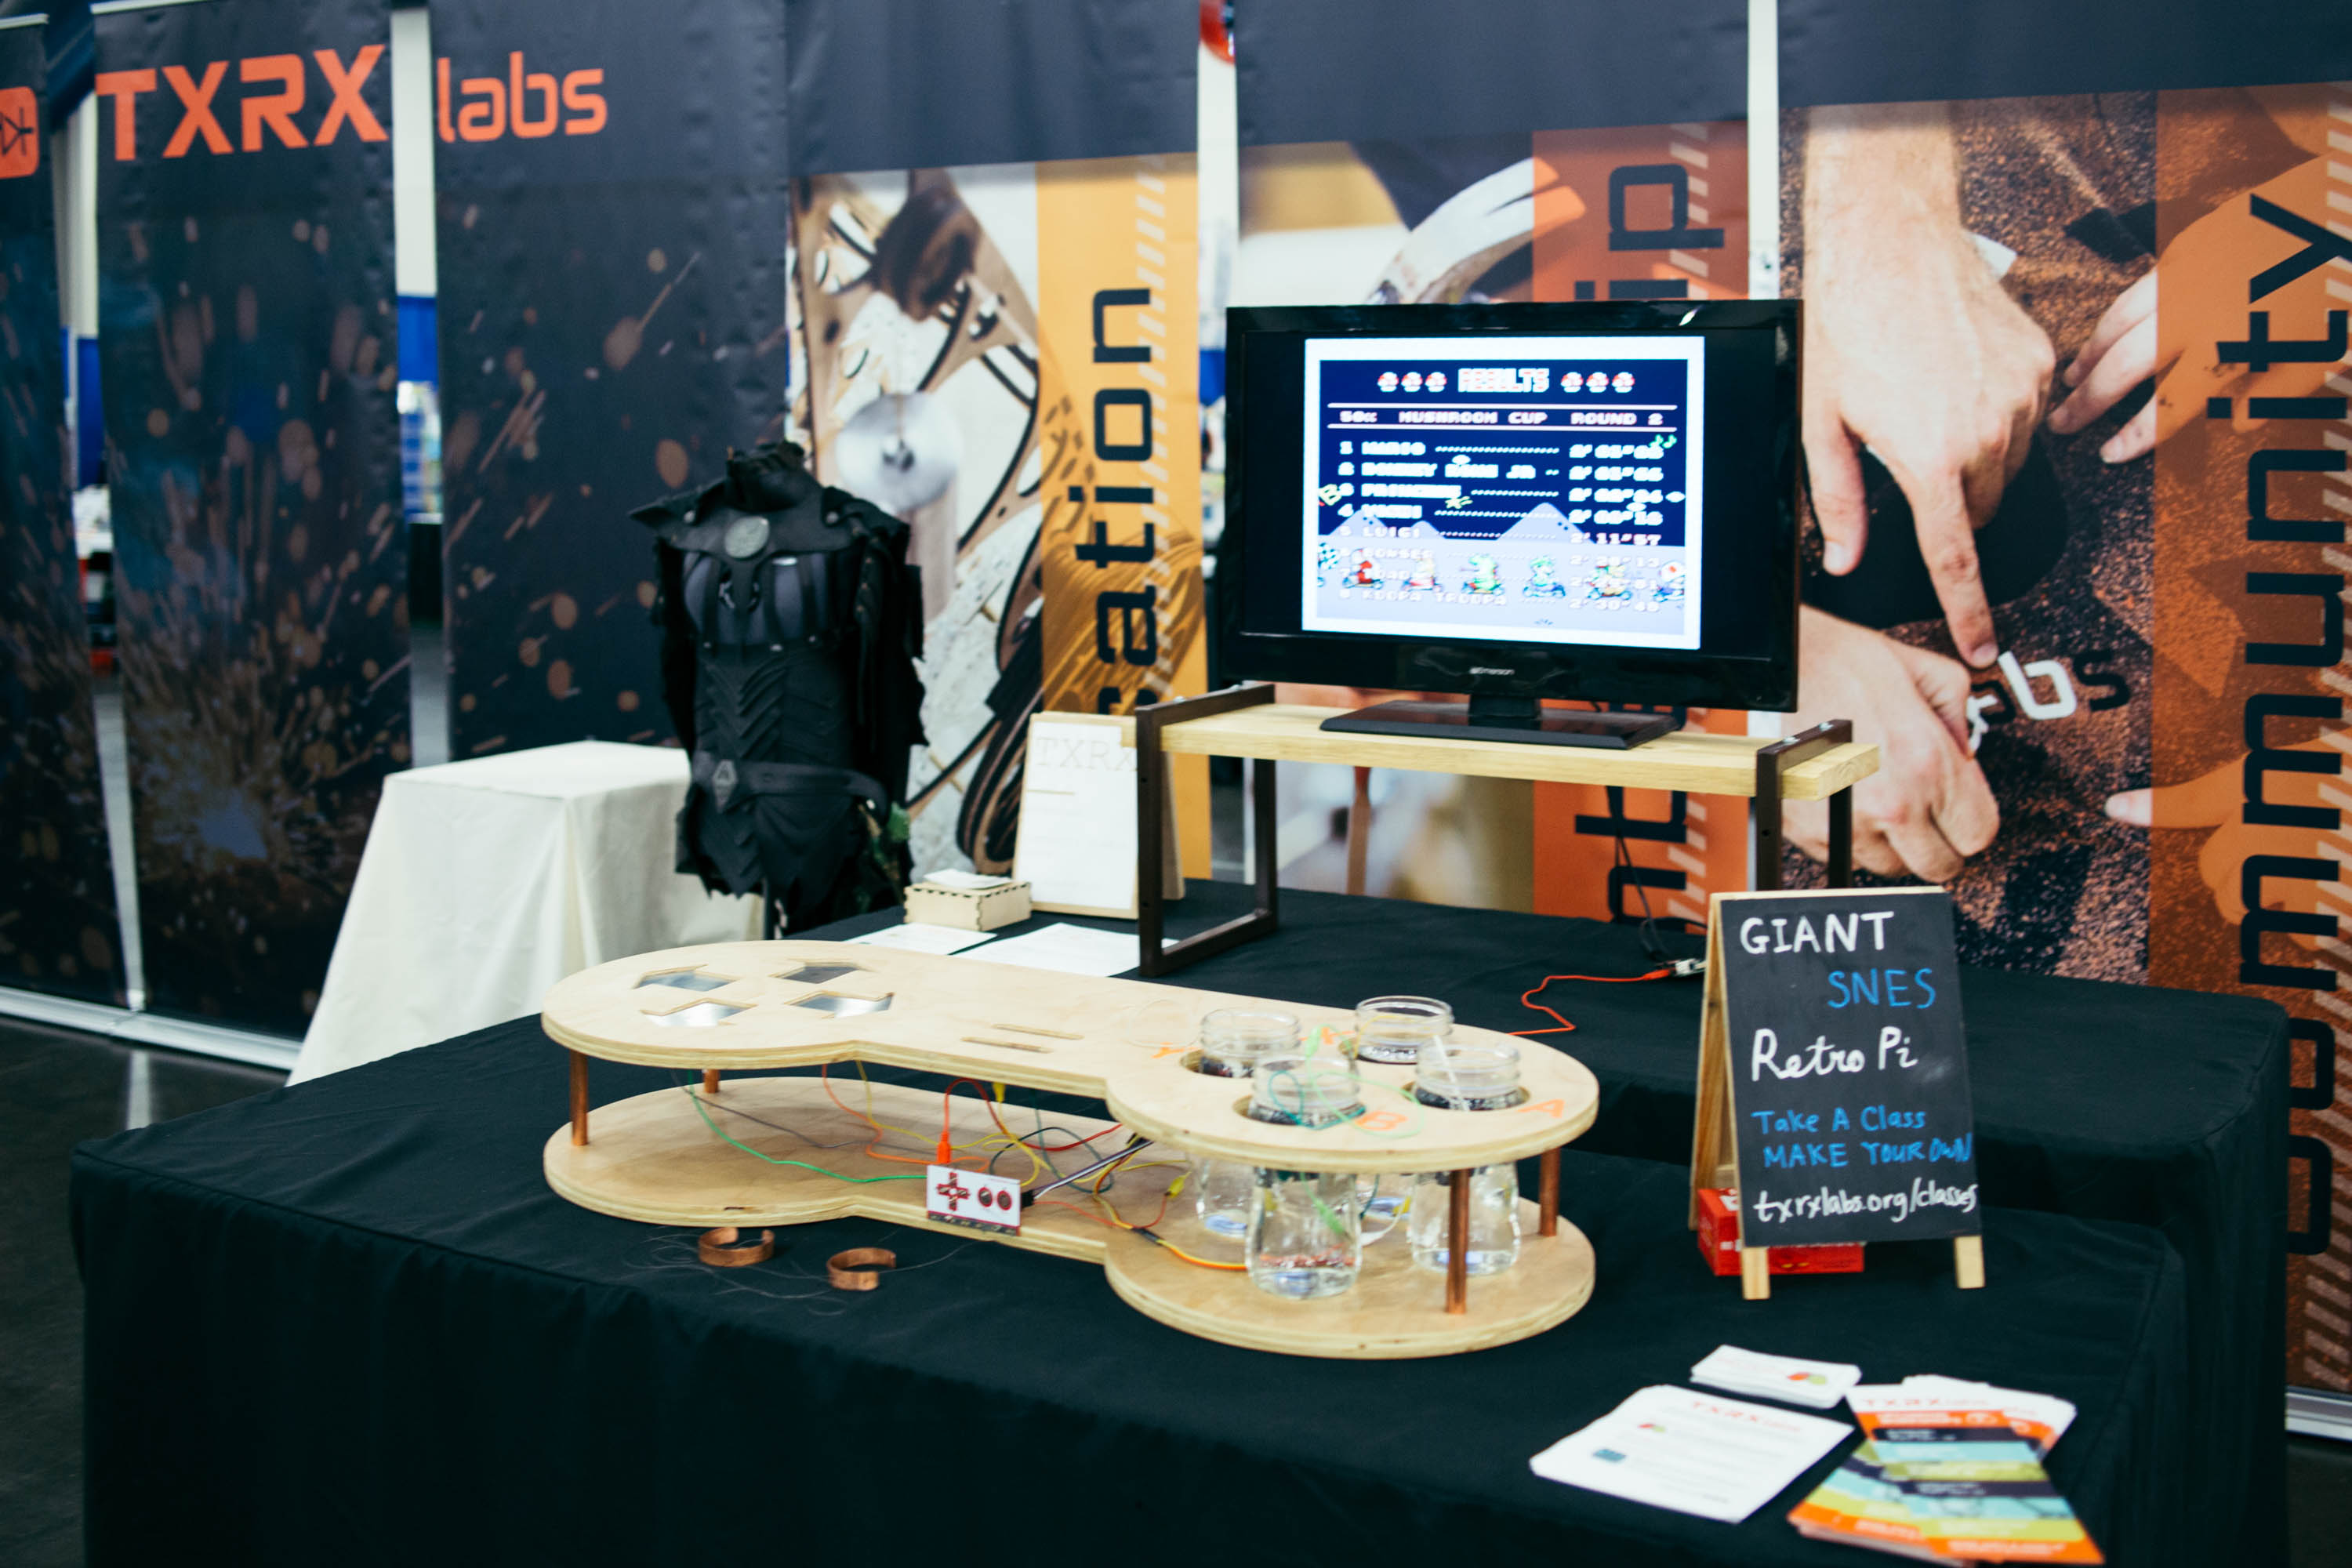
How It's Made
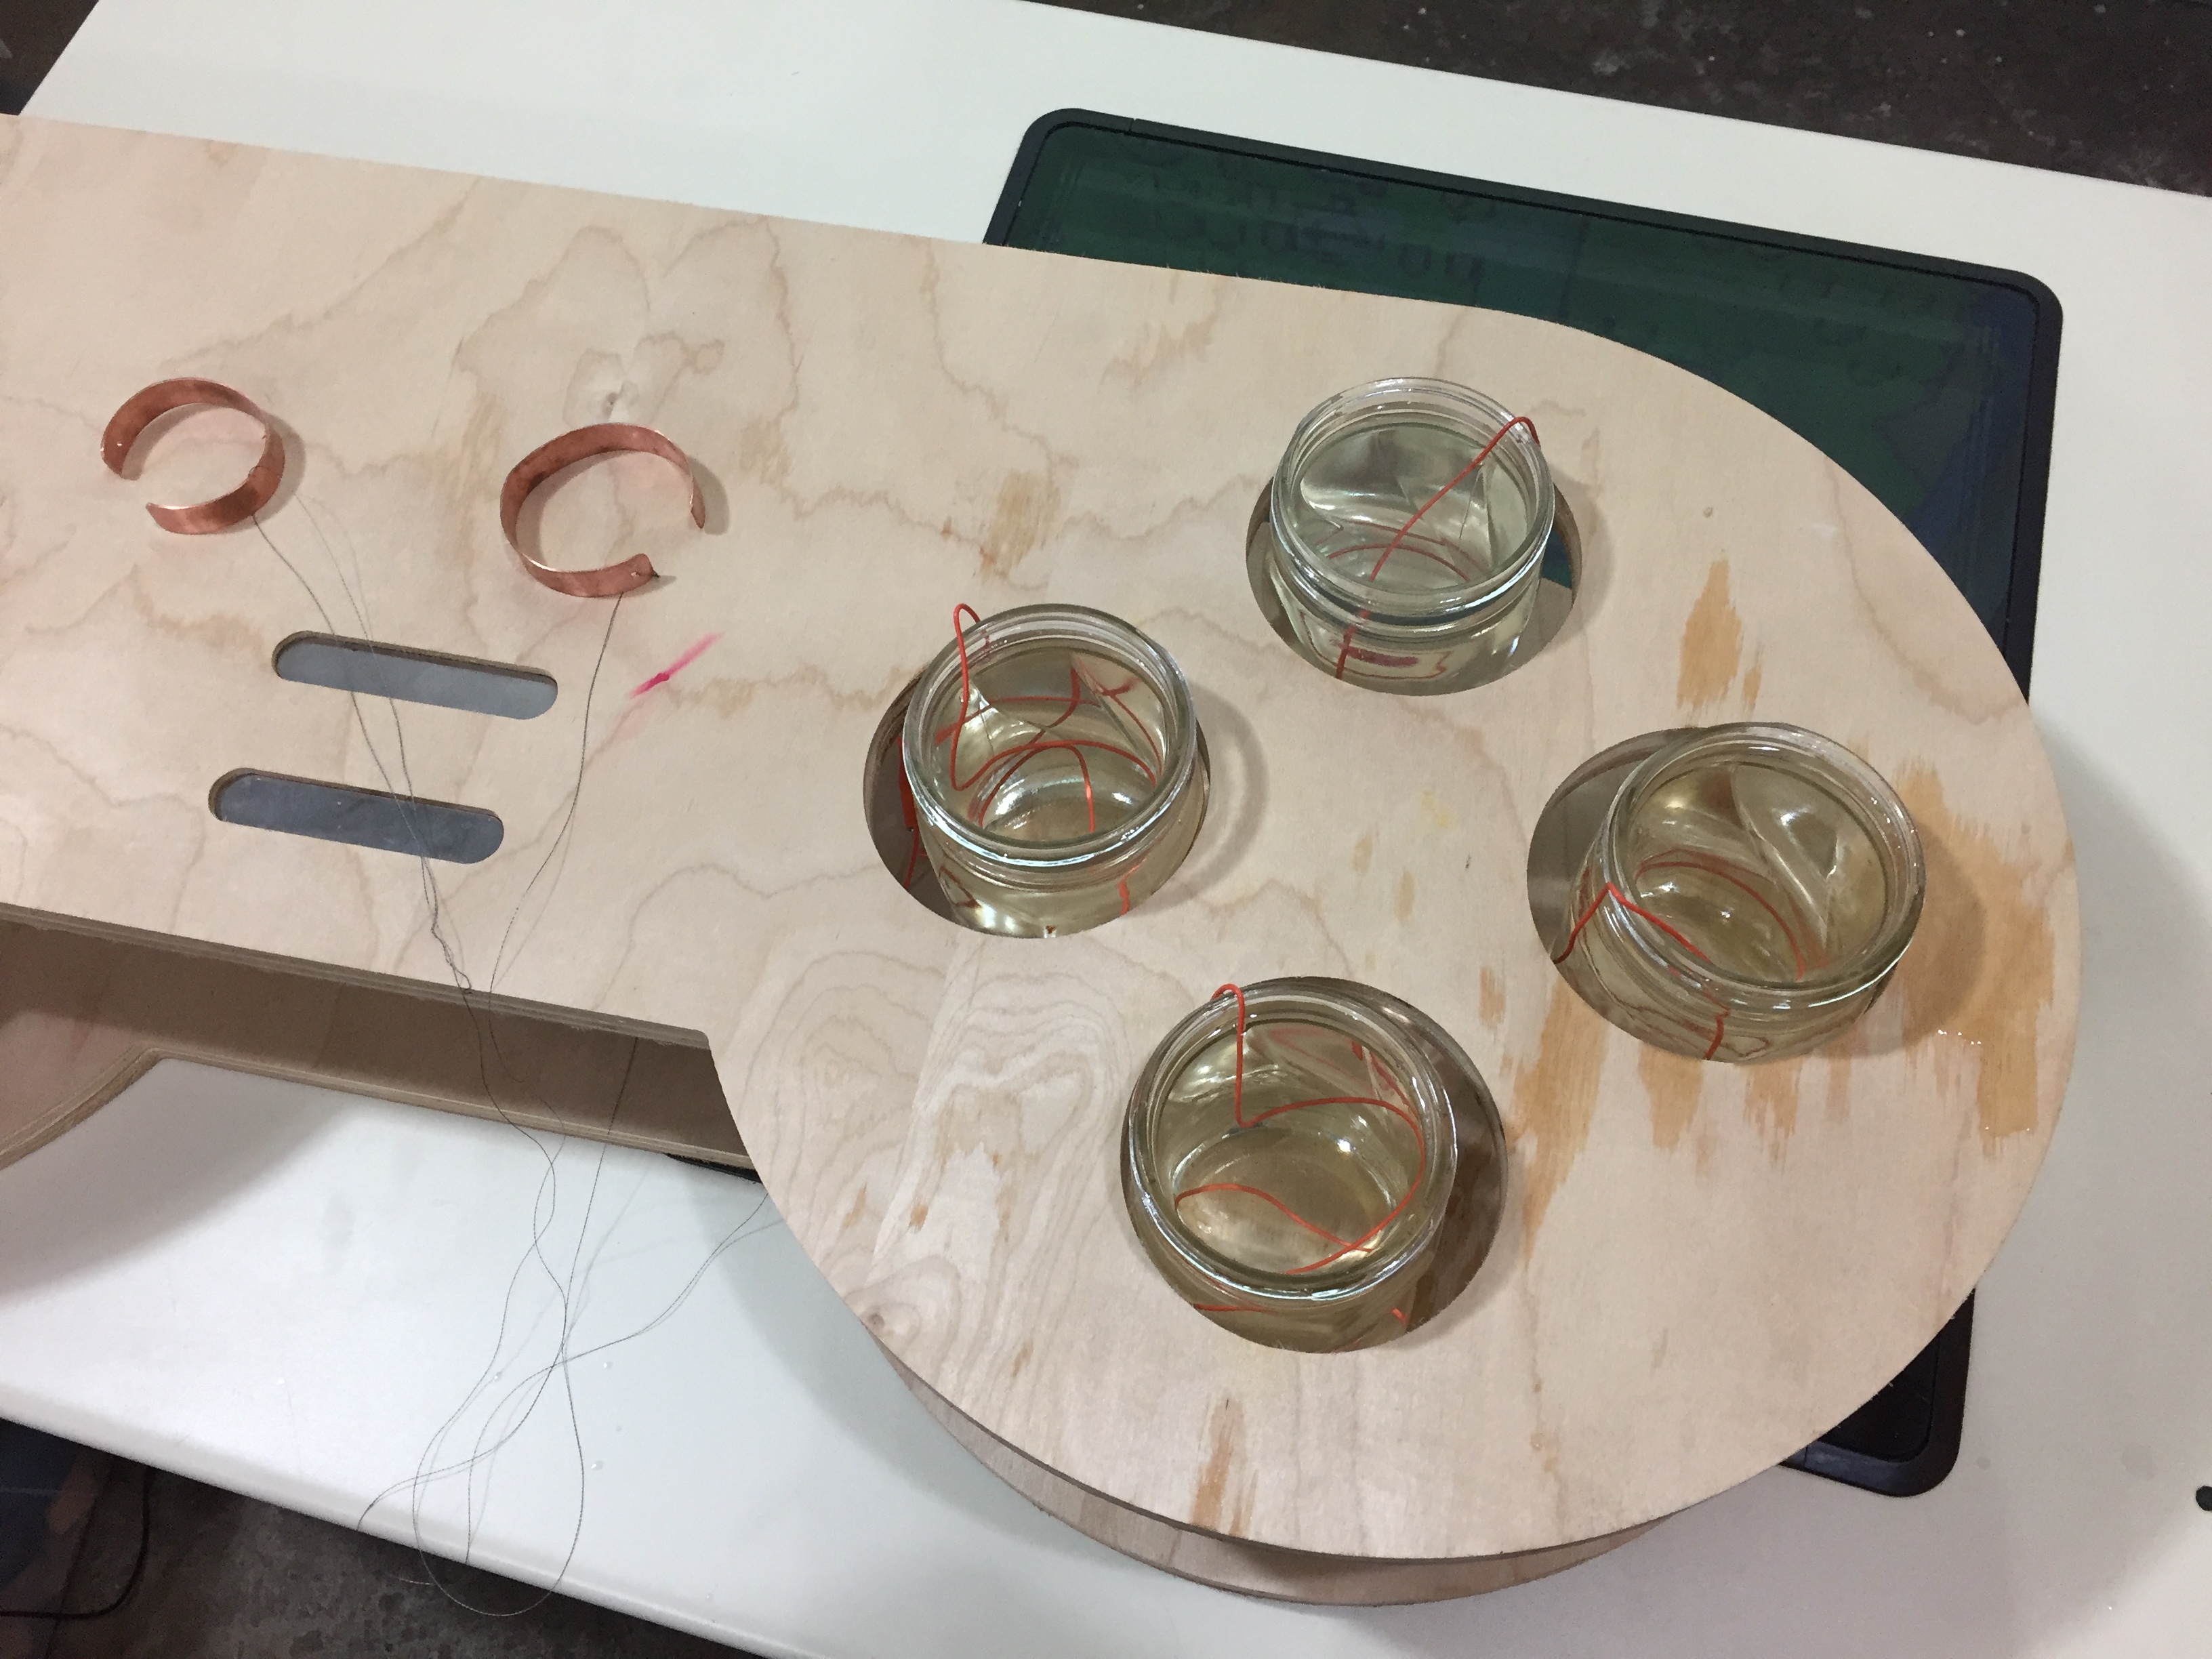
This was relatively inexpensive to make. Most of the cost came from the Raspberry Pi and the MakeyMakey board. The rest of the materials are cheap - 1/2 inch copper tubing that were used as standoffs, bolts, mason jars, and cheap plywood from Home Depot, etc.
- 3D CAD drawing made similar to a retro SNES controller made in OnShape. CAD skills are crucial to transferring your ideas to a CNC machine, whether that's a 3D printer, router table, plasma cutter, or mill. TxRxLabs offers a 3D CAD workshop → Fusion 360 CAD
- Routed out plywood in the shape of an SNES controller with CNC wood router.
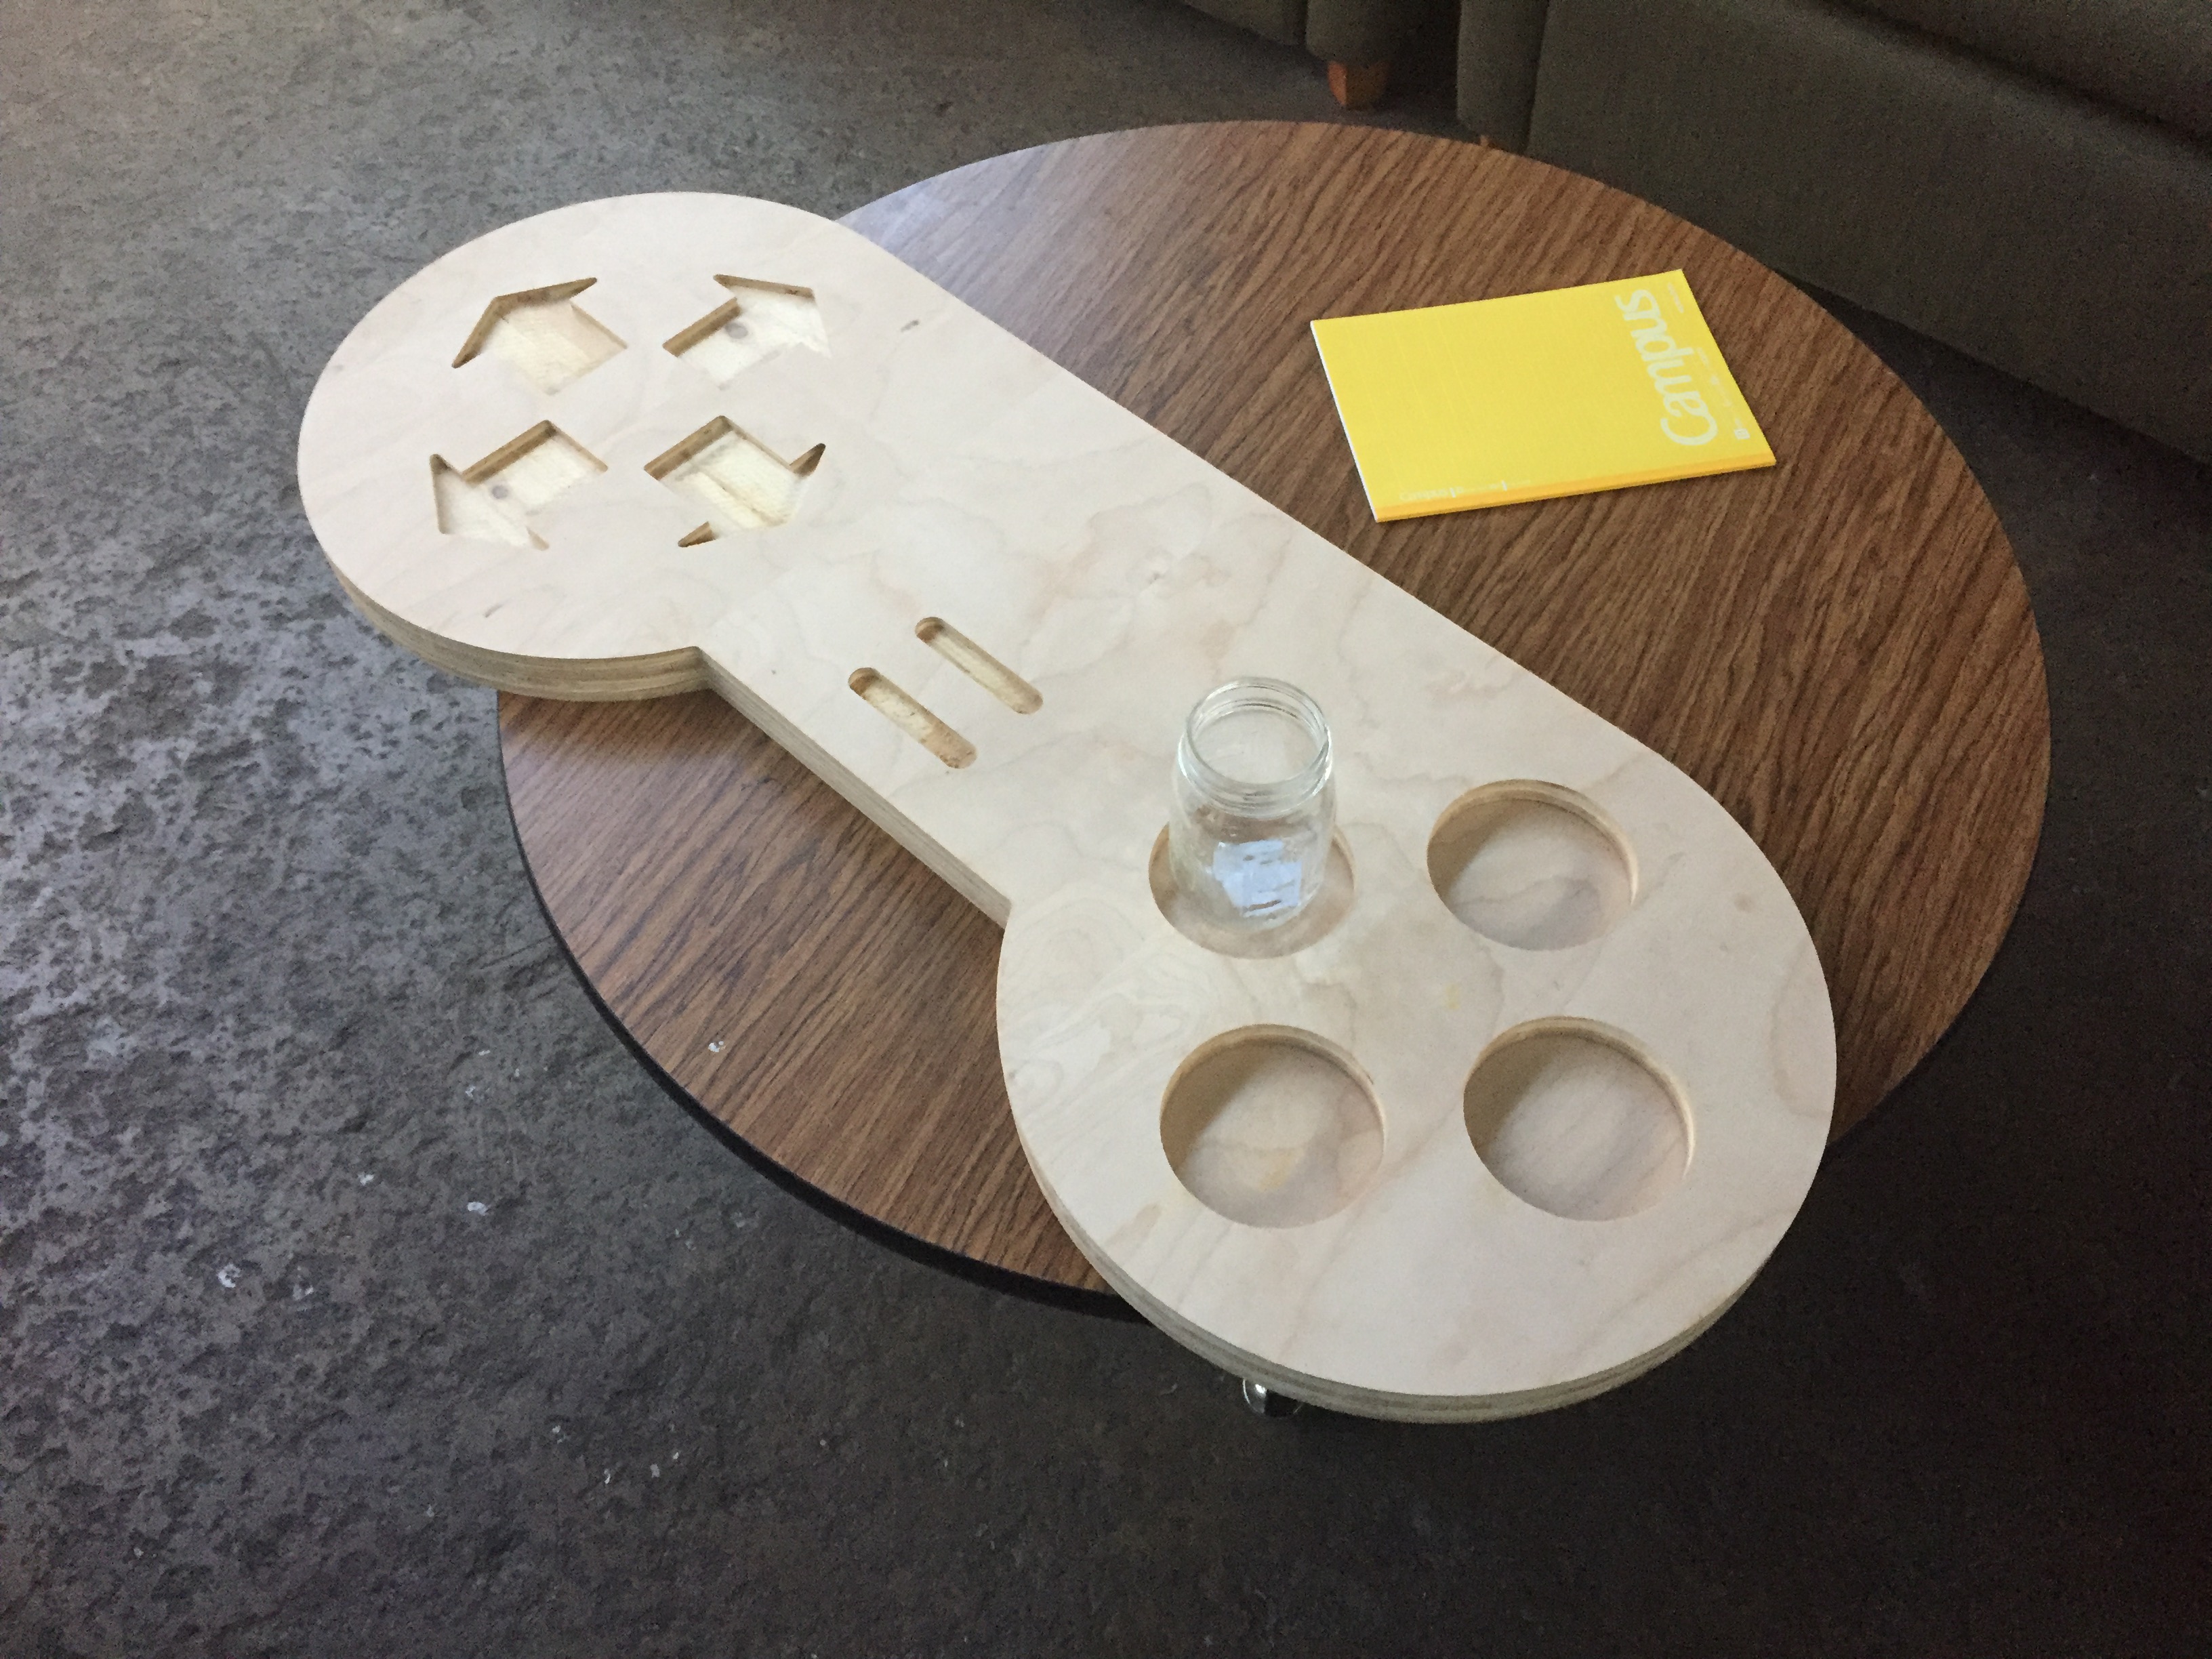
- Stainless steel arrows cut with a Water Jet through the TxRxLabs Request for Work Service.
- Assembled Plywood cutouts with bolts and copper tubing standoffs, dropped in the stainless steel arrows.
- A Raspberry Pi disk image with RetroPi was set up with ROM with this Retropie tutorial. Configured the controller buttons to the MakeyMakey keyboard.
- Copper Bracelet made in the Jewelry Studio connected MakeyMakey ground with stainless steel conductive thread (special thanks to Ali for making the ground bracelets!)
- Stainless steel keys and Water Jars wired to MakeyMakey circuit board.
This was a super fun project, and I learned that playing a video game with a giant controller doesn't make it any easier!